

So this post might be two days late....but then again I sort of run on that timeline naturally...so it is befitting!
Every year I PLAN to creatively display the Christmas cards I receive in the mail and every year I fail to follow through with anything other than sliding them amongst my kitsch on the mantle. Well, not so this year! I used my noodle and came up with a no-sew way to create a pennant, banner thing which has a name but it completely escapes me right now.
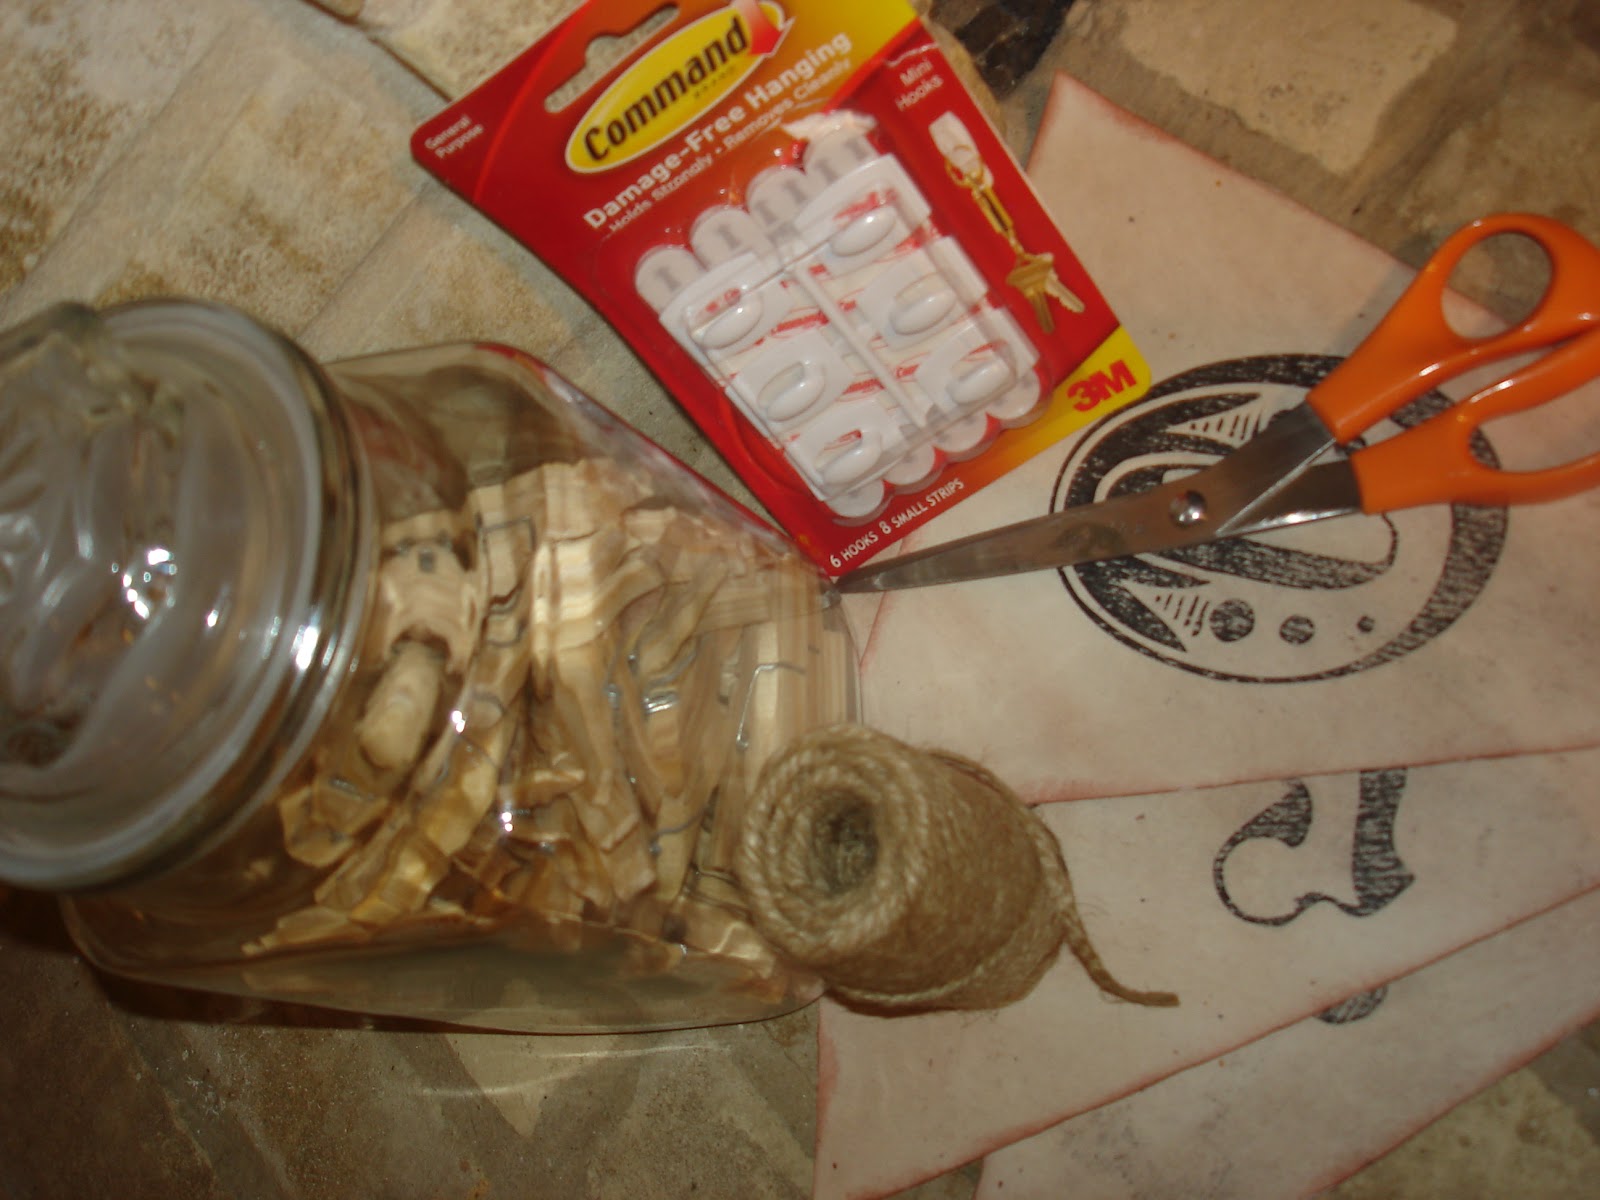
Taking a cue from trend-o-rama Pinterest I decided on a rustic country-esque theme complete with twine, clothespins and old time western letters! (All I am missing in the mason jars!)

Now...anyone who blogs will know that a "how to" blog is NO simple task. So....challenge on, Patty! Here we go!
Step One:
Hop onto Microsoft Word and center one letter on a regular document page. Use the default page settings-oh and make sure it is "portrait"-not "landscape." I chose the word "Joy"...so on one page I centered the letter "J" in Circus Font at size 360. I used a understated confetti like card-stock...but only because I was out of the natural brown stock I normally use. Continue until you complete the word you have chosen. (Did I really need to add that last directive?) Now...my printer screwed me a bit and left this icky ink stain...but I didn't freak out (a damn miracle, I tell you) because I knew what I had in mind and I would take care of the error easily.

Step Two:
Since your paper is 8 and 1/2 x 11...locate 4 1/4 at the bottom of your page and make a small mark with a pencil-in the event you need to erase.

Step Three:
As best you can-draw a "perfect diagonal" line from 4 and 1/4 to each top corner. I probably could have pulled out some funky measuring tools...but I didn't. I inhaled and hoped for the best.

Step Four:
Once you have drawn your triangle use a pair of seriously sharp and reliable paper snips. If you mess up...no worries! I have plans for hiding those errors, as well!


Step Five:
Oh how I love my chalk! Chalk it up! I use colored decorating chalks which can be purchased at any craft/hobby store, paper crafting shop, and/or through your favorite paper crafting independent consultant. In this case I used a sort of burnt sienna and then lightly added a light dusting of black because of the previous ink accident. Take a cotton ball and LIGHTLY rub it into chalk.

BEFORE YOU CHALK UP YOUR TRIANGLE....DAB IT ON YOUR CRAFT PAPER FIRST TO REMOVE EXCESS. Craft paper also prevents you from chalking up your furniture. Make certain to really chalk up the edges and corners. This adds pop!

You will notice that rubbing the cotton ball on the actual letter will pull some of that printer ink off and away which creates a more worn look. It's a win-win!

Step Six:
This is a little complicated and it's going to be a good challenge to put words to this. Let's start with the ink sponging...

Take a sponge....any sponge. I JUST happened to have purchased these through Stampin' Up, but prior to that I used kitchen sponges-I actually like how they worked a little better. (Gasp!)
Dab your sponge in your favorite stamping ink. I LOVE Brilliance! It is all juicy and sparkly! LOVE IT! But, you can use anything. I just find pigment ink pads help with sponging a little bit better.
Now...take your sponge and CAREFULLY run it up and down the SIDES of your triangle. You can MAYBE pull the ink a teeny tiny bit towards the image...but I wouldn't do that too much. As you can see some of my ink got away from me...but not too much...just enough.
Sponge all the way around the edges of your triangles.

Step Seven:
What do I love even more than chalk? My bone folder! Oh yeah, snicker if you must...but this thing is a multi-purpose genius invention that is not made out of bone at all-at least I hope not!
Take the side of your bone folder (not the pointed edge) and place it up against the side of your paper triangle. Move the folder back and forth along the edges of the triangle and you will start to break down the stiffness of the paper. This will create a worn effect on the edges. I usually put some serious elbow grease into this...I WANT a frayed look. Again...roughen up all sides.

Your triangle edges should look old, curled and crumpled once you are done.


Step Eight:
I chose to hang my "joy" over my mantle. My mantle is very precious to me. I designed it and was a part of the installation so NO nail will ever find it's way into that mantle! (And YES...I plan on taking it with me!) Thus, I opted for command strips. Follow the instructions. If you don't, they will not hold!
I placed the command strips on the sides of my mantle. I cut a LOOOOOOOOOOONG piece of twine and secured "O" on the twine with a clothespin. (Exceedingly hard for me to locate-random, right?) I got "O" right where I wanted it and tied both ends to each respective command strip...leaving some room for slack...but not too much as the heaviness of the cards will pull the twine down. I attached another, longer piece of twine to create another string by which to hang more photos.

Step Nine:
Add each card, lovingly, as they arrive in your mailbox. Enjoy the loving, laughing faces for as long as you would like! I often keep my holiday cards up for MONTHS because, in fact, they fill me with such joy!


No comments:
Post a Comment